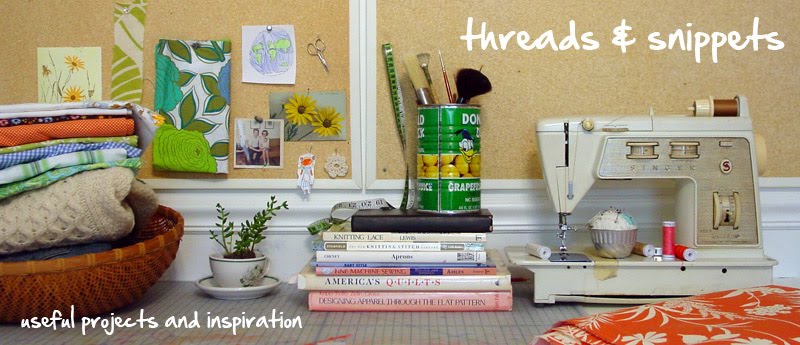
I've recently become reacquainted with my Singer Touch and Sew 750 from the 1970's. All the time I've had it, I've never used it for embroidery or applique. It's not computerized, but came with a box full of cams that you insert in the top of the machine to achieve novelty stitches. I was skeptical. Surely they won't work as well as a computerized machine, will they?

In my day job as a freelance designer, I am always torturing some poor soul overseas with complicated appliques for childrenswear. I decided to try one for myself- something advanced, like a cabbage rose with 12 pieces and lots of hairpin turns- to see if I could do a decent job. I chose some random scraps, just thinking it was for practice.
I started by fusing some Heat N' Bond Iron-on adhesive to the back of my fabric to be appliqued. I printed out two copies of a rose design I had drawn in the computer and numbered the pieces on both. One became the pattern, and one the key.
I cut out the pieces and peeled off the paper backing on each piece. Then it was a matter of carefully arranging the pieces while eyeballing the key. Once in place, I fused the pieces in onto the fabric using hot, dry heat from my iron and a Bo-Nash Non-Stick Ironing & Craft Sheet. I'd never used one before and wanted to see if it would really prevent scorching. It worked fine, and I had that iron cranked up to maximum.
With the pieces secure, I was ready to do the embroidery stitch around the edges. I used the one the manual called "Paris point stitch", but I've always called "blanket stitch". Away I chugged, following the edges just fine on the gently curving parts. Actual turns need a pivot every stitch or so to get around neatly. It took longer than I thought, about an hour.
My daughter liked it so much, she had me make it into a doll pillow with ticking on the back. She has put in an order for a skirt with the same flower. Not bad, eh?


 I used to be a clothing designer in New York City, then I chucked it all to start a family. I stay busy as an independent designer of kids’ clothing and textiles for various companies, and for my own label “chirp & bloom”. This is my personal blog, where I keep my notes on all things vintage, green, handmade, indie, kid-friendly, and whatever else inspires me to keep evolving. Just for fun, I feature artisans I discover at indie craft shows and share sewing and other DIY projects through tutorials. Thanks for visiting!


 All personal designs, images, and written words in this blog are copyrighted by Rebecca Harkin unless otherwise credited. Feel free to link back to my posts all you want, but please do not copy my photos or words without my permission.
No comments:
Post a Comment